
Product Details
Easy to Assemble
To build the model you only need some basic tools such as a screwdriver, a sharp knife, soldering iron and most importantly – a good mood.
Cheap and fast repairs
Did you break something? Don’t worry, you’ll have a reprinted spare part in no time. Then loosen a few screws and replace the damaged parts. And – drive again immediately!
3d print maximum, buy minimum
“Don’t buy parts – just print them, nearly all!” You print most parts starting with bodywork, complete chassis and even cardan joints and gearbox. Buy just motor, radio control electronics, tires and shocks/springs – and you are ready for ride.
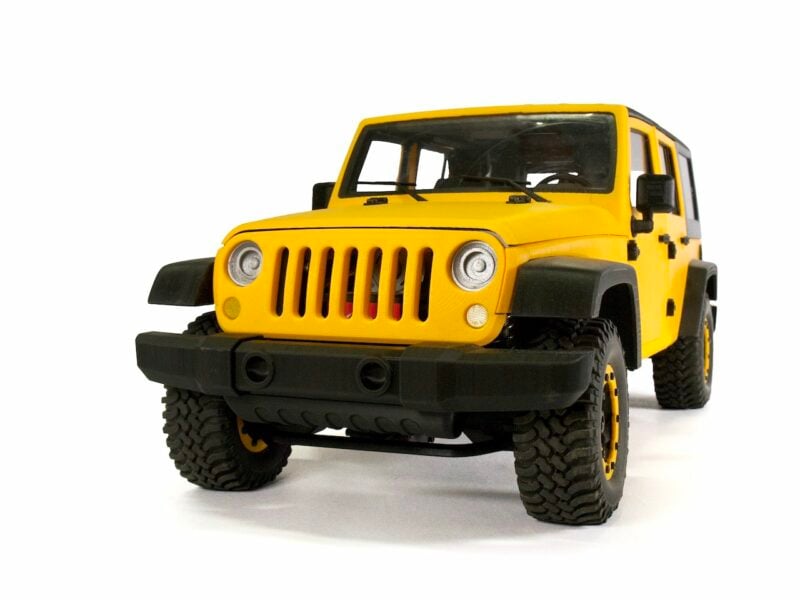
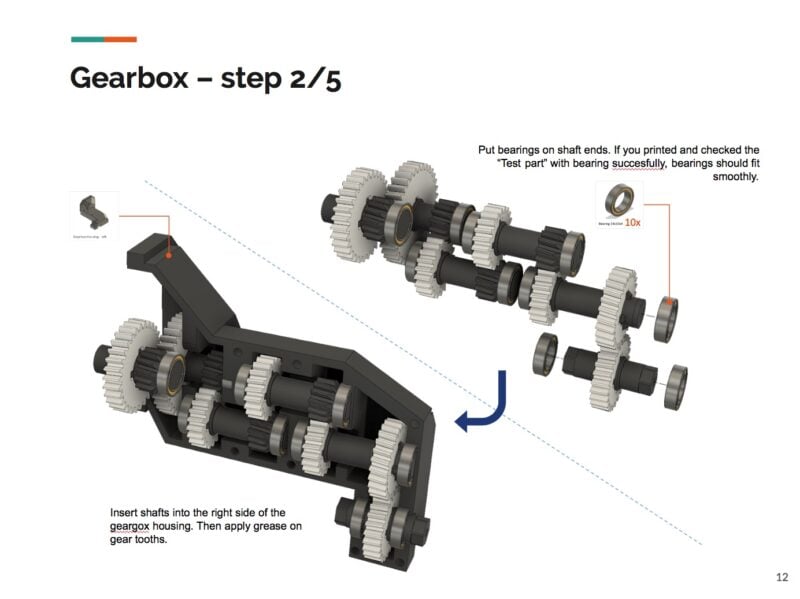
Step-by-step User Guide
Comprehensive Build Guide is available for free to anyone – lets go through before you buy the model. Build Guide include a complete bill of materials and links for online stores, when you can purchase non-printable parts.
“Build when you print” – you get not only the ready-made print plates but also the time-effective print sequence, so you can continue assembling while you printing and do not need to wait for the part you need.
Build Guide available here
List of non-printable parts is here
What 3d print data I will get?
You don’t get the usual clutter of .stl parts, we prepared:
- gcodes compatible with Original Prusa MK3 printers
- printing assemblies in .3mf files (can be opened in Prusa Slicer, Cura, Simplify 3D)
- standalone parts in .stl files
If you have Original Prusa MK3, you can print right from the gcodes, if you have another printer, just load .3mf files in slicing software and generate you own gcode. Or make put together parts you wish using common .stl files.
What you will need:
- any 20 x 20 cm 3D printer, Prusa i3 recommended
- 3,25 kg of filament needed to all parts, PLA or PET. Preferably 2,5 kg of black and 0,75 kg of any colour (body of the car).
- bring your own motor/speed controller, servo and battery
- basic soldering equipment
- screws and nuts
- set of bearings
- set of rubber tires and shocks
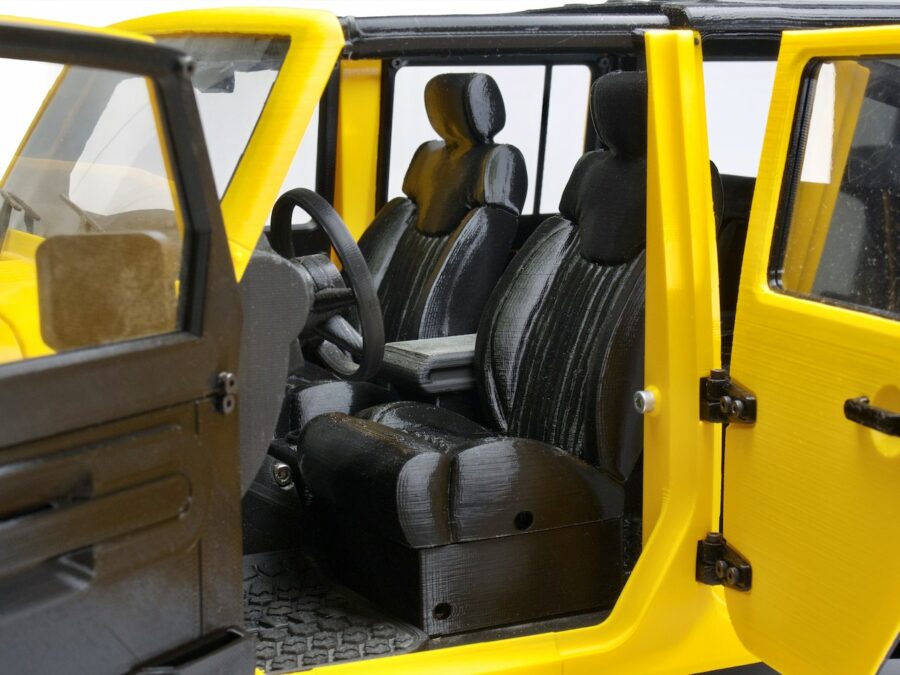
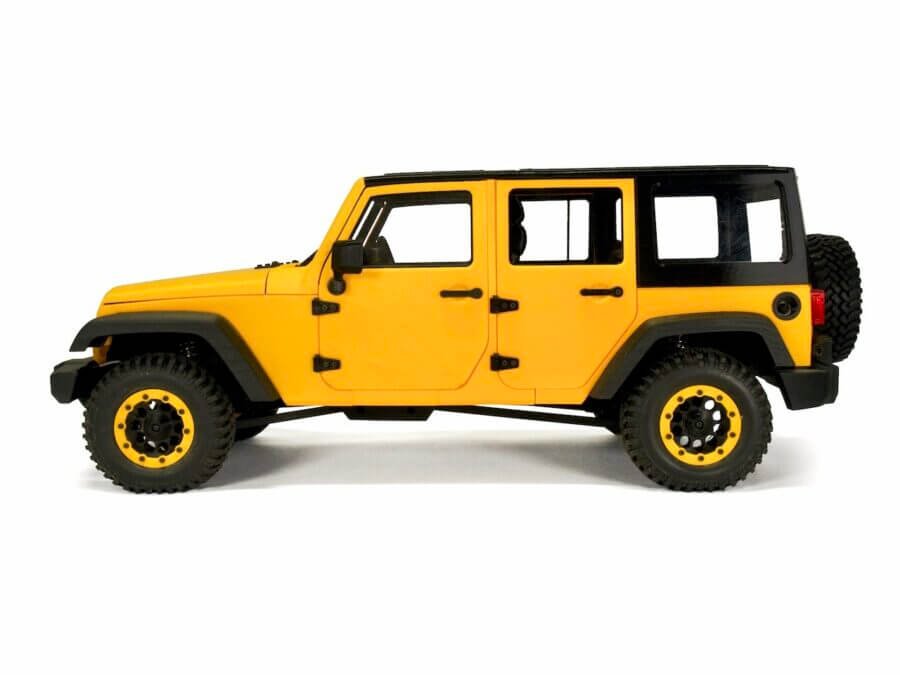
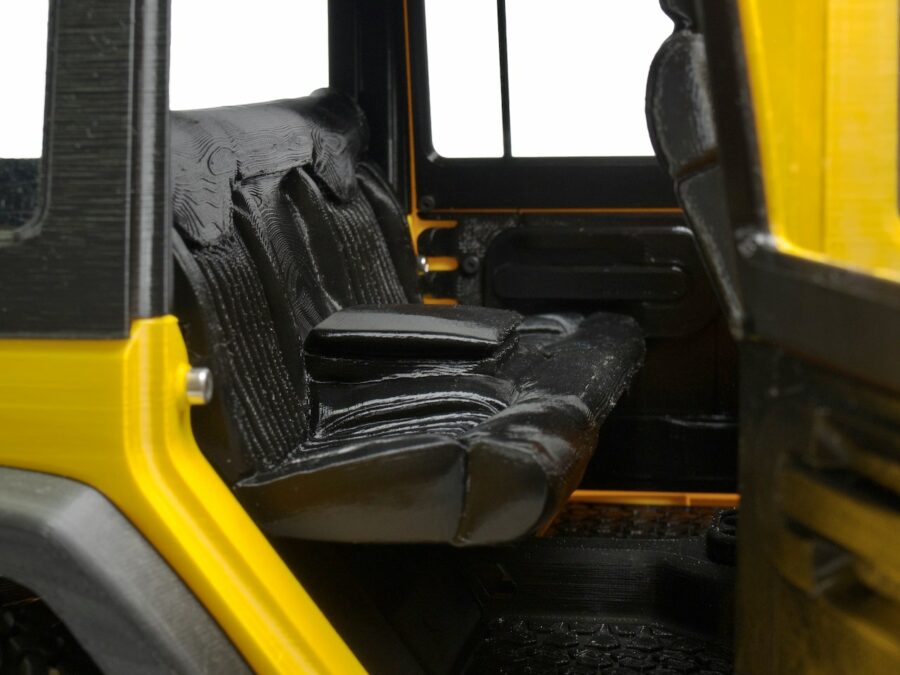

Walter Francis (verified owner) –
Didn’t know what to expect going in, but what a great experience, I really enjoyed printing and building this Model.
I built it on a Creality K1C.
I will be adding more to me collection.
timjardan (verified owner) –
This is fantastic. Ordered my hardware from eBay and Amazon. Everyone I’ve shown it to has been impressed with the detail. Both my son and I thoroughly enjoy driving it. (Just might need to make another!)
I printed this on a Prusa i3 Mk2s without too much trouble.
I love that locked and unlocked diffs are included. I’m running front and rear unlocked and it drives well and goes through dirt, grass, and gravel without issue – and of course concrete and asphalt is no problem. I’ve rolled it over and had nothing break. Traversing larger rocks are a different story though. Granted, that’s to be expected as rock isn’t as forgiving.
When doing an expedition over more difficult terrain, just bring some spare parts and a couple tools. Broken stuff swaps out quickly as it’s easily accessible.
I live in the southwestern US where temps get hot. Today we had it out in the sun with a high temp of 104F (40C) and the back part of the roof warped (PLA). I have the front part printed in ASA now because of this. So, if you’re in a hotter climate, print with the appropriate materials. I’m replacing mine one part at a time now.
One of the really great things about 3d printing in general (and it applies well here) is if something isn’t working well, you can reengineer the part and try again. Or, if you just want to try something different, you can. You’re not limited by what’s on the shelf at the store. If it works well, share the fix with others.
Overall this thing has been a ton of fun printing, building, and driving.
Scott Bradshaw (verified owner) –
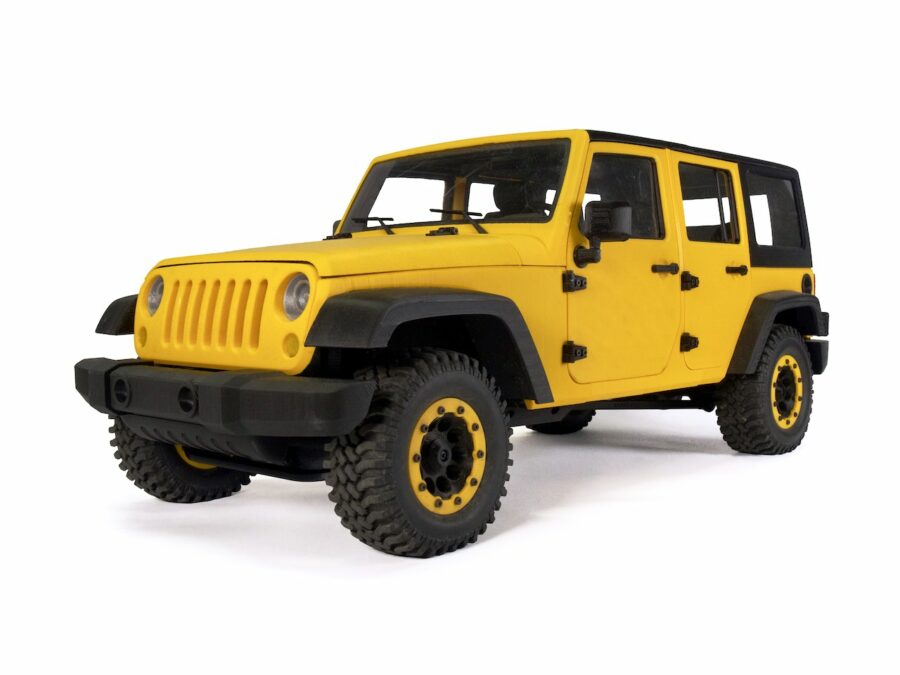
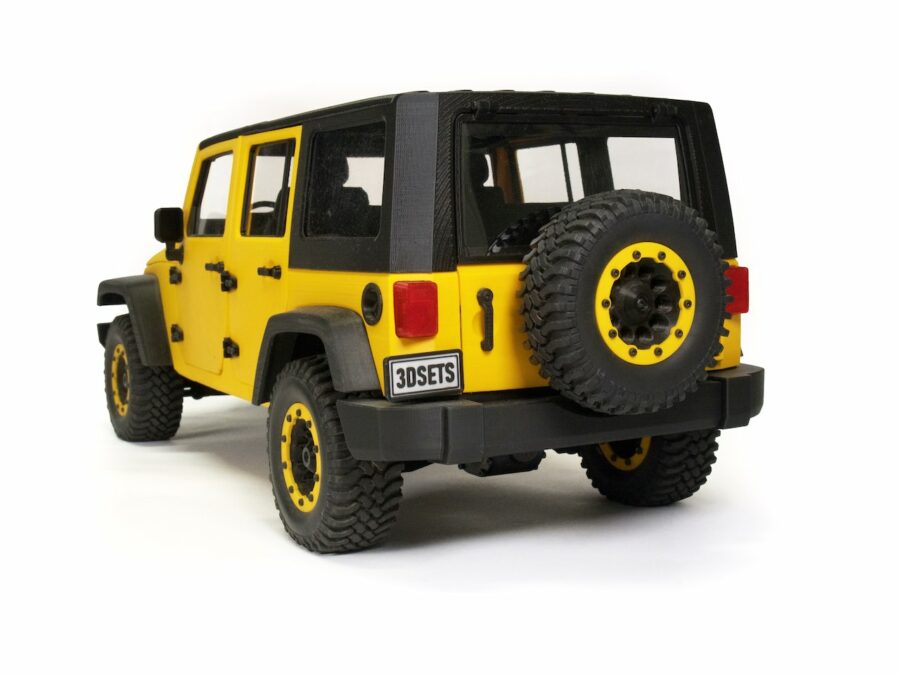
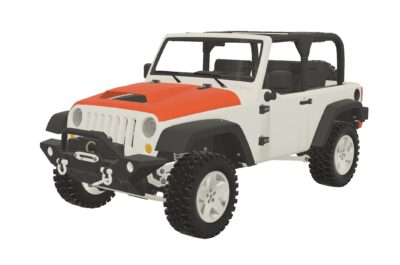
I am printing my last plate as of writing this review and have most of the 4 door Rancher assembled with the exception of the top. I have been impressed with the design files and ready to print plates right from the beginning. I have been using the Prusa Slicer prepared plates but printing on my stock Creality Ender 3 Pro with esun PLA + filament and everything has turned out great and fitment of all the parts is right on. I can’t imagine how much time it took to design the model and all the components but it is well worth the money. I will be purchasing one of the Landy Models next! here’s to hoping they add a Vintage Ford Bronco look-a-like soon. Couple of things to keep in mind. ordering parts from Ali express will be the cheaper route but will most likely take longer to arrive. I ordered mine from amazon and picked up the hardware from a local hardware store as I didn’t want to wait. I also printed my gears with PLA + and put a fan on the motor to try and keep heat down. I haven’t had any problems with the PLA+ gears and have been driving it around 3/4 assembled for several days now with no gear failures. However I have broken two drive shafts but blame my print settings more than anything as they were 15% infilled on accident instead of solid. I would highly recommend solid infills for any of the drivetrain components. But again that is the beauty of this thing… a couple hours later I had some fresh driveshafts on my printer ready to be installed.
Id give this thing 10 stars if I could I have had such a fun time printing, building and playing with it. and look forward to the next one, and hope that they have lots more models in the future.